- Home
- Real-Time Weld Measurement

Real-Time Laser Weld Measurement

More than 1 BILLION Welds Measured
Direct, in-process laser weld measurement is more than theory — inline coherent imaging technology is already helping manufacturers move faster, reduce risk, and send more product out the door.
Learn how LDD systems can optimize your production.
Tell us about your application
What is Real-Time Laser Weld Measurement?
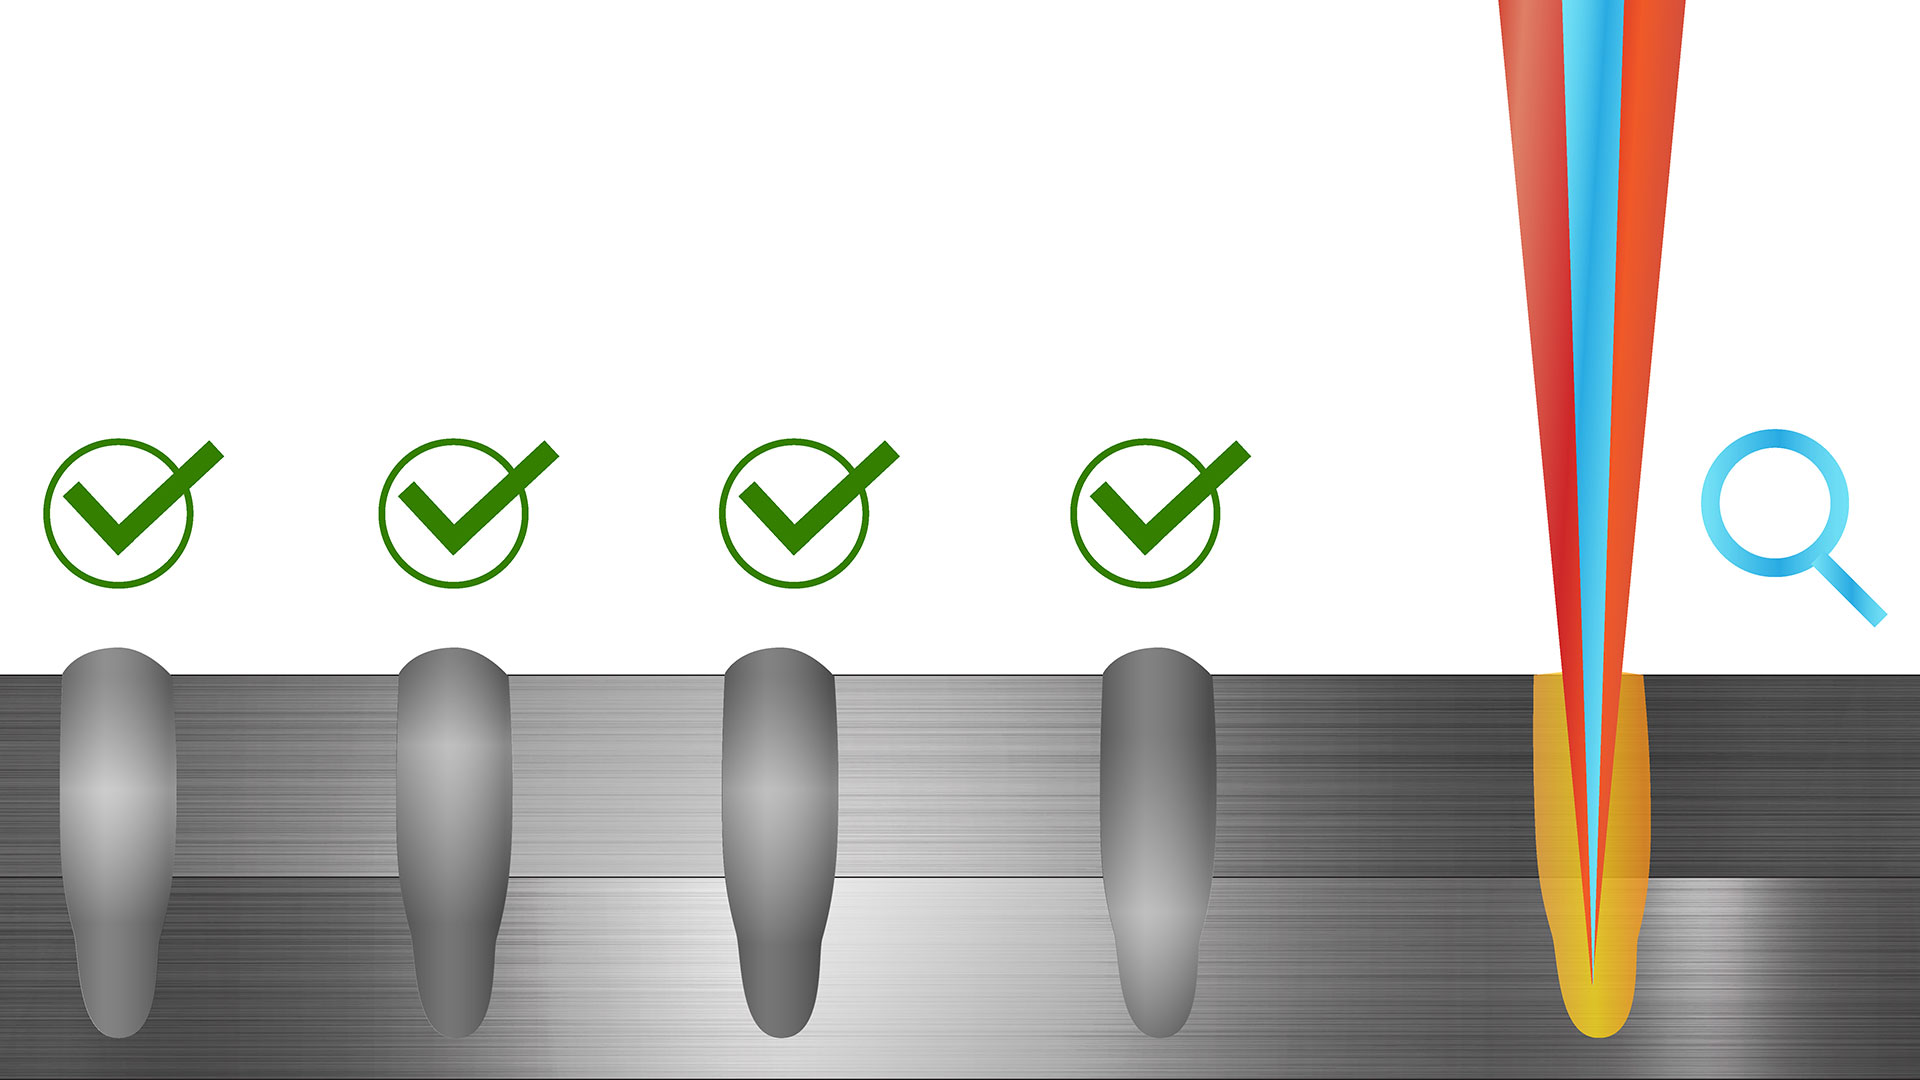
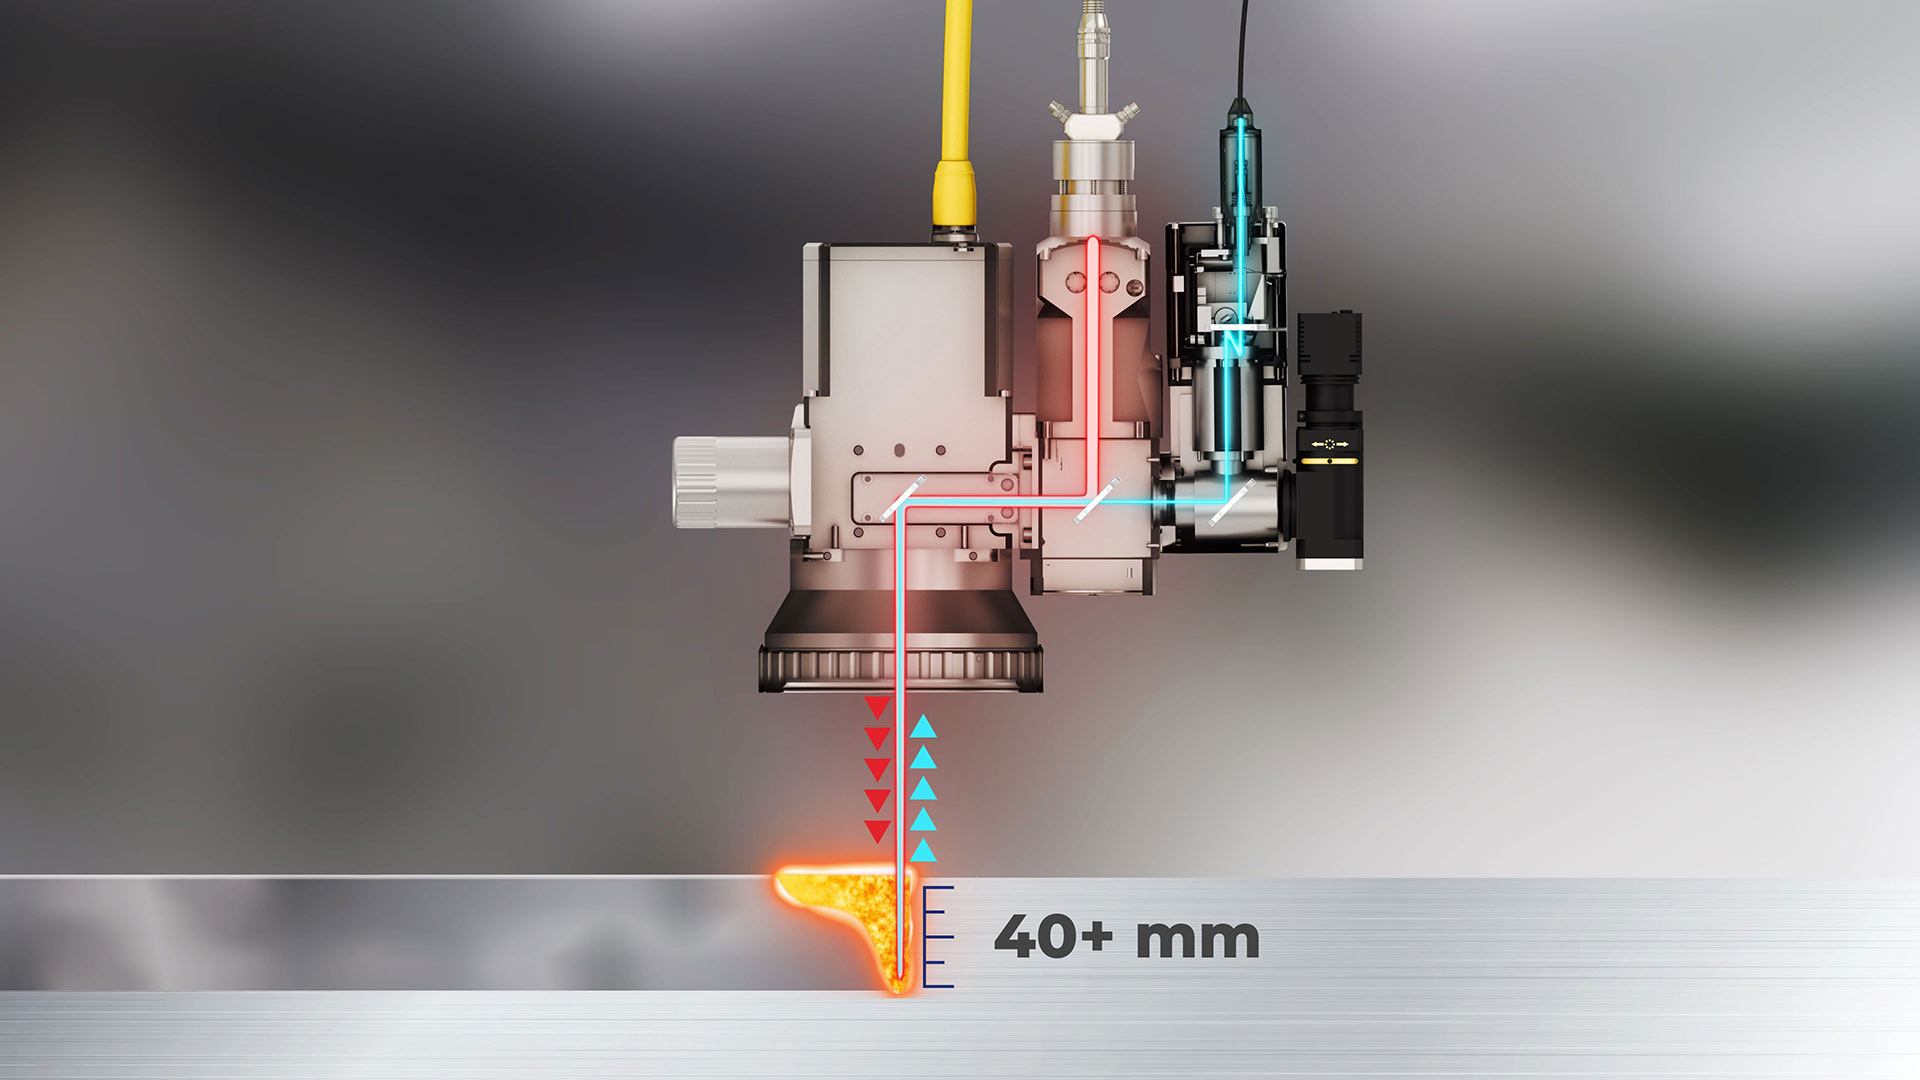
By firing a low-power measurement beam through the same optics as the welding beam, LDD real-time laser weld measurement directly and accurately measures weld keyhole depth up to 40 mm and beyond.
This unique design allows LDD systems to return depth readings with micron-level accuracy, even in complex and high-speed welding paths.

What is the Cost of a Defect?
Avoiding defects is a must — weld defects can lead to recalls, damage your brand, or even endanger end users.
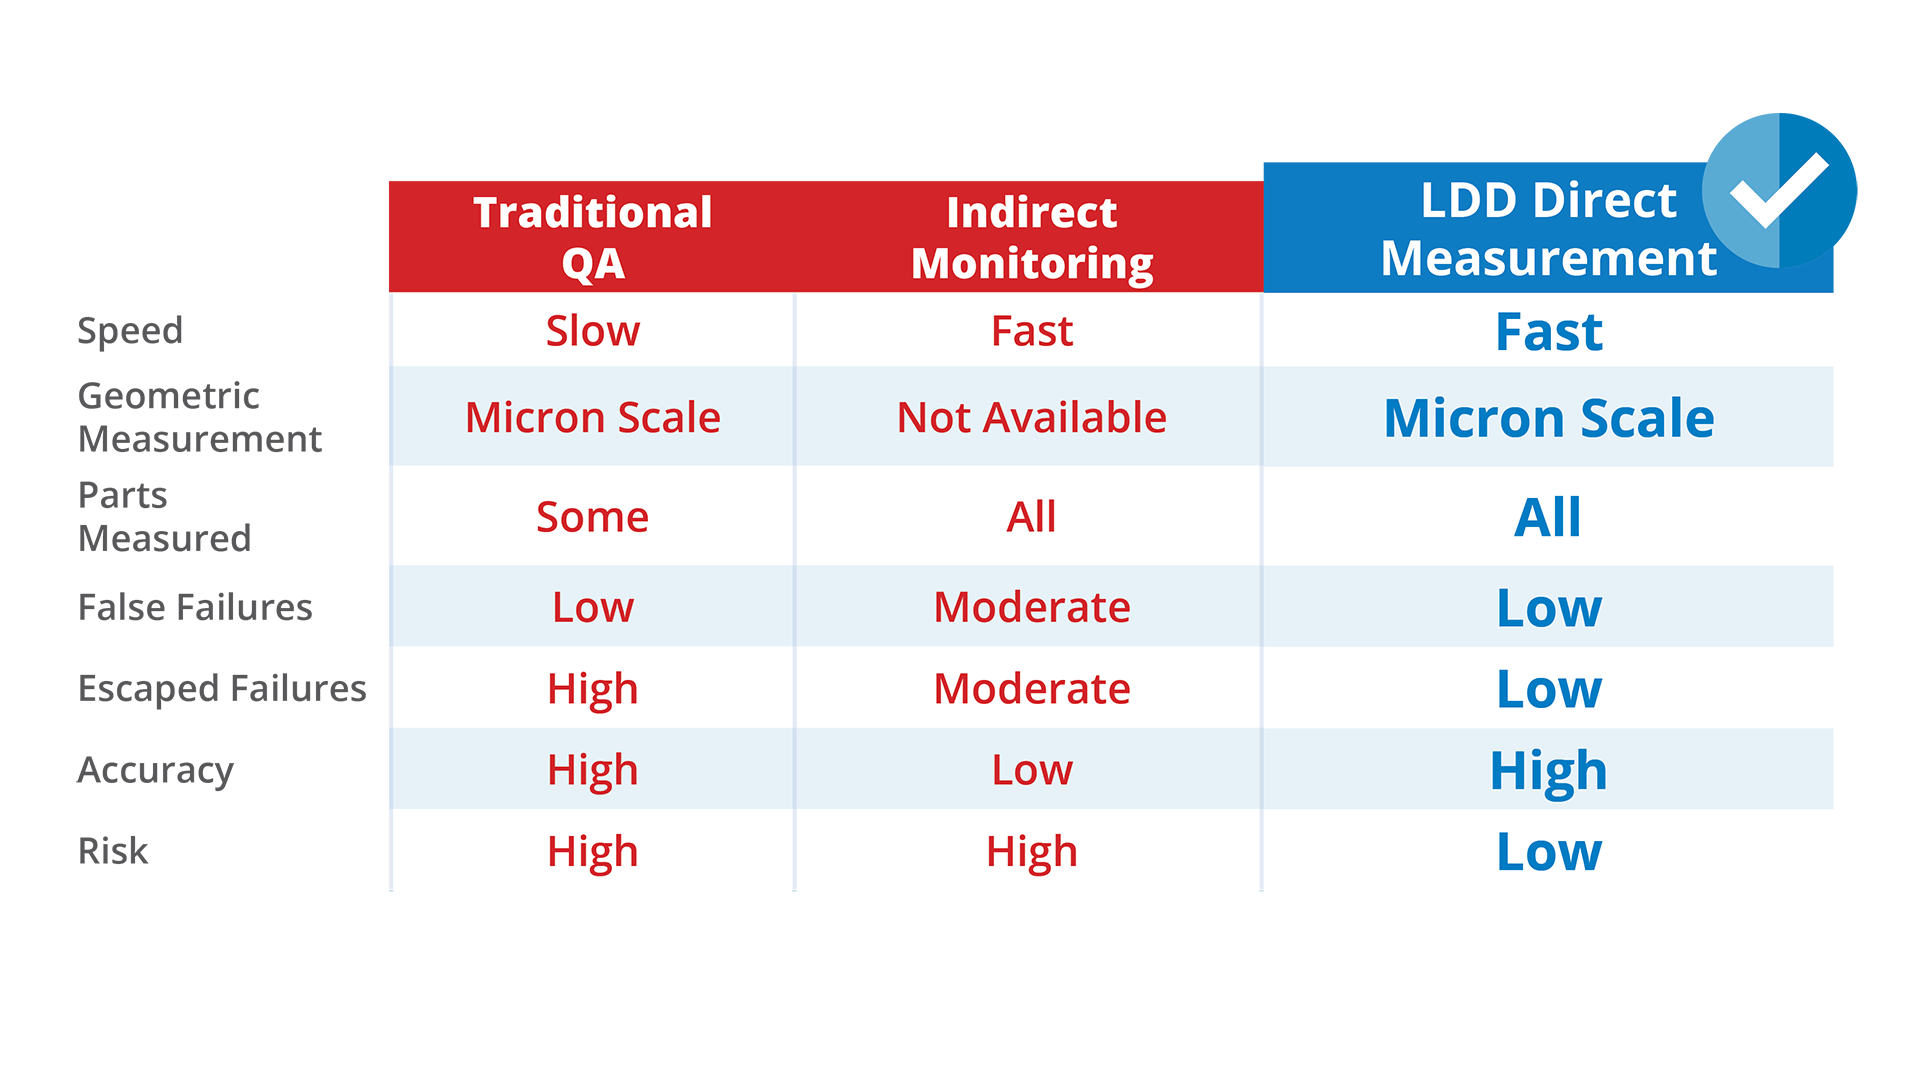
But traditional and indirect quality assurance techniques leave too much to chance, forcing manufacturers to slow down or throw away good product.
LDD technology eliminates this compromise, enabling complete, accurate weld measurement at the highest laser welding speeds.

More Than Just Measurement
Patented inline coherent imaging technology provides exceptionally accurate weld depth data — but that's just the beginning.
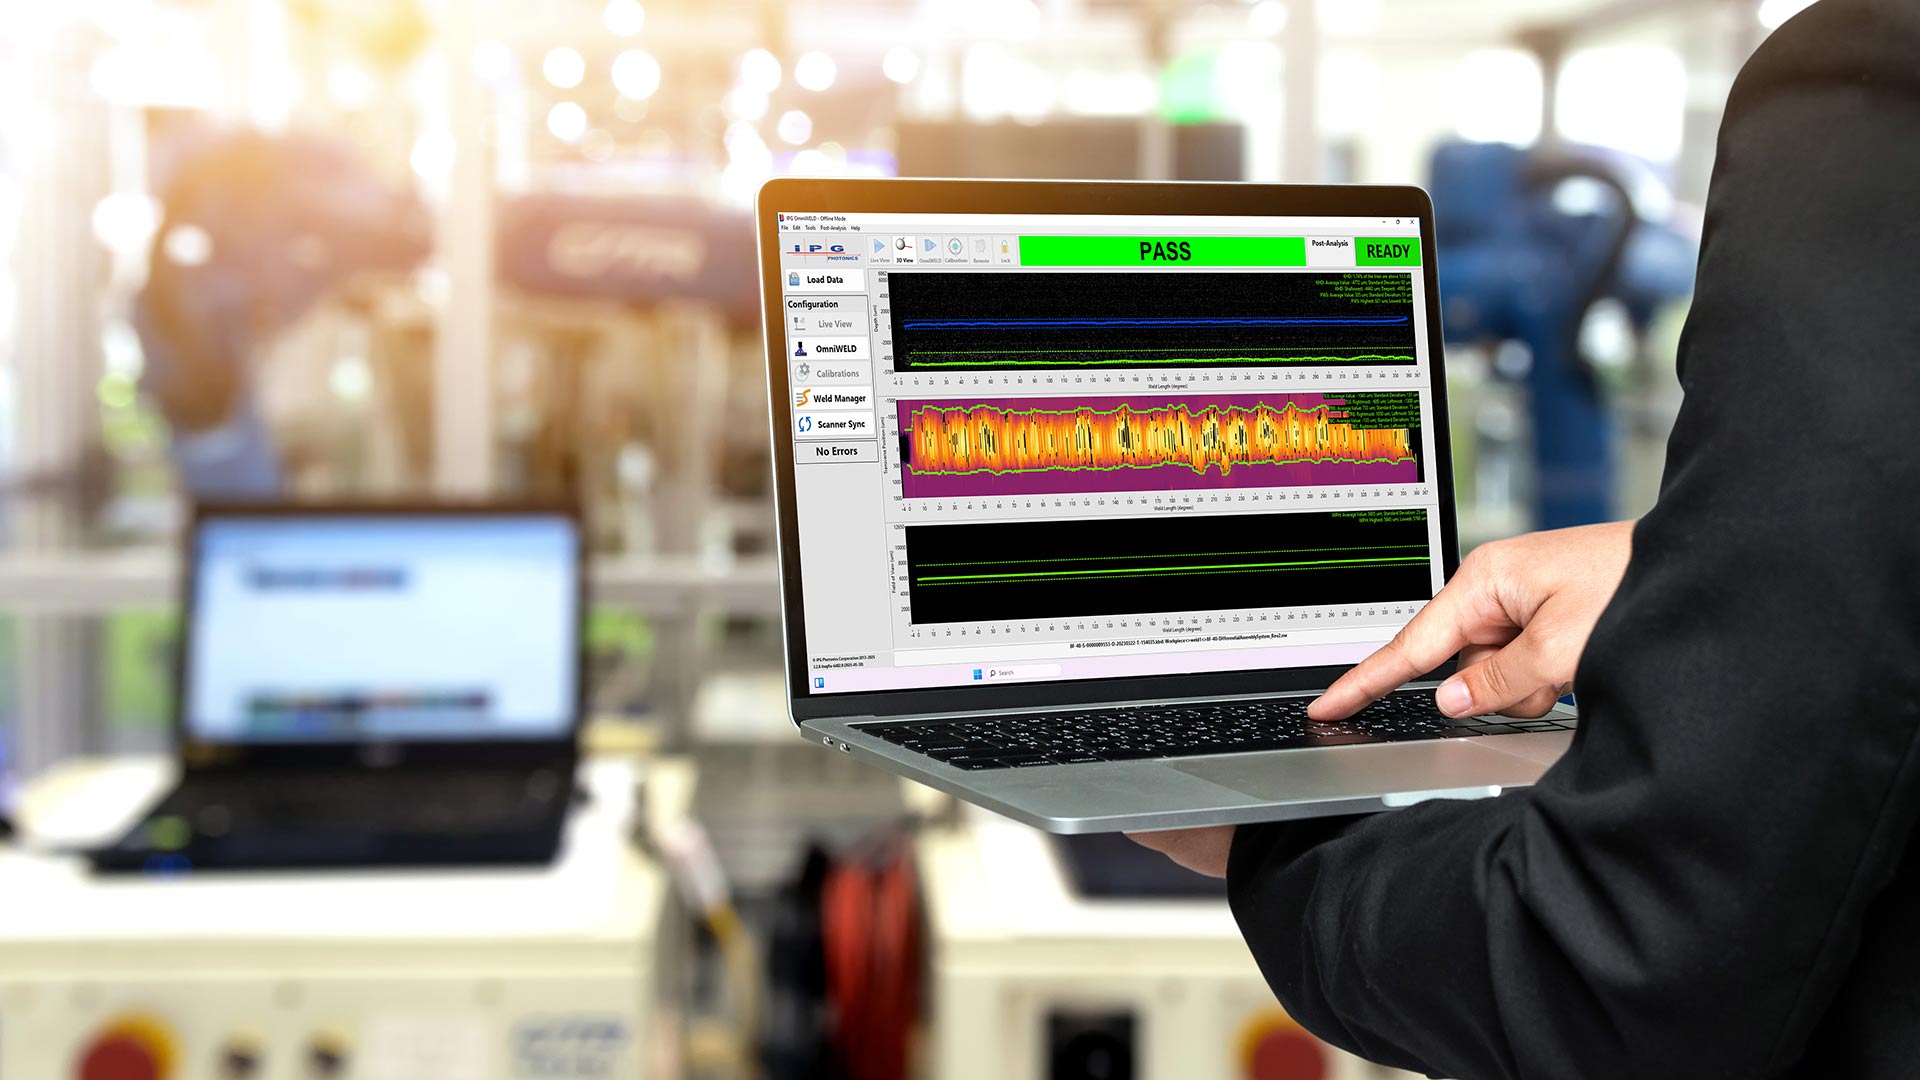
Integrated software provides unmatched insight, cataloging every weld, tracking process trends, and identifying future defect risks before they occur.
Real-Time Laser Weld Measurement FAQ
Laser weld monitoring is a broad term used to describe the non-destructive measurement of a laser welding process. Laser weld monitoring typically refers to in-process methods that examine and measure the weld during welding rather than after. Traditional post-process methods of laser weld quality assurance include destructive cross-sectioning and sometimes x-ray analysis.
The primary purposes of laser weld monitoring are to save time and resources and eliminate time-consuming QA processes. However, laser weld monitoring is also capable of providing more complete data, automatically logging that data, and identifying trends in weld quality.
There are a variety of laser weld monitoring techniques and technologies. Laser weld measurement is a kind of laser weld monitoring that is more precise and reliable because it directly measures weld geometry rather than estimating it based on indicators like weld plume and back reflection.
LDD systems use a type of Optical Coherence Tomography (OCT) called Inline Coherent Imaging (ICI) that uses a sensing beam coaxial with the welding laser to measure part geometry, weld depth, and finished weld geometry.
While LDD measures weld geometries like seam position, transverse profile, and the finished weld surface, it is primarily focused on measuring weld depth, as that is the most critical weld variable in most laser welding applications.
LDD systems reliably provide measurements that are within microns of those produced by destructive testing. Less accurate data provided by alternative technologies necessitates more conservative acceptance criteria that leads to increased false failures and unnecessary scrap.
Any welding application that is concerned with ensuring consistent weld depth while maintaining high welding speeds and excellent weld quality is a good candidate for LDD real-time laser weld measurement.
For example, the automotive and e-mobility industries have adopted LDD technology to address high volumes of critical, and often precise, laser welds.
Advances in LDD technology and capabilities have expanded its applicability and benefits. Depending on the model of LDD system selected, it is possible to accurately measure laser welds deeper than 40 mm for heavy industrial applications.
“Real-time” is another way of saying “in-process” — ultimately, laser weld monitoring technologies produce data as the weld is formed. In most cases, it is not necessary to slow down the laser welding process to accommodate the measurement occurring simultaneously.
Industrial fiber laser systems used for welding are very reliable, typically producing consistent optical outputs for years with minimal maintenance. It is unlikely for the laser system itself to cause a notable variation in laser weld quality or depth.
However, incoming parts and materials can present variations in height, cleanliness, and fit up that cause a weld defect. This situation might be a one-off occurrence, or it might point to some kind of process degradation caused by an upstream process.
LDD technology and software integrates and works with IPG fiber lasers and technologies, including Adjustable Mode Beam (AMB) lasers, single-mode lasers, laser scanning heads, and on-the-fly laser welding.


